
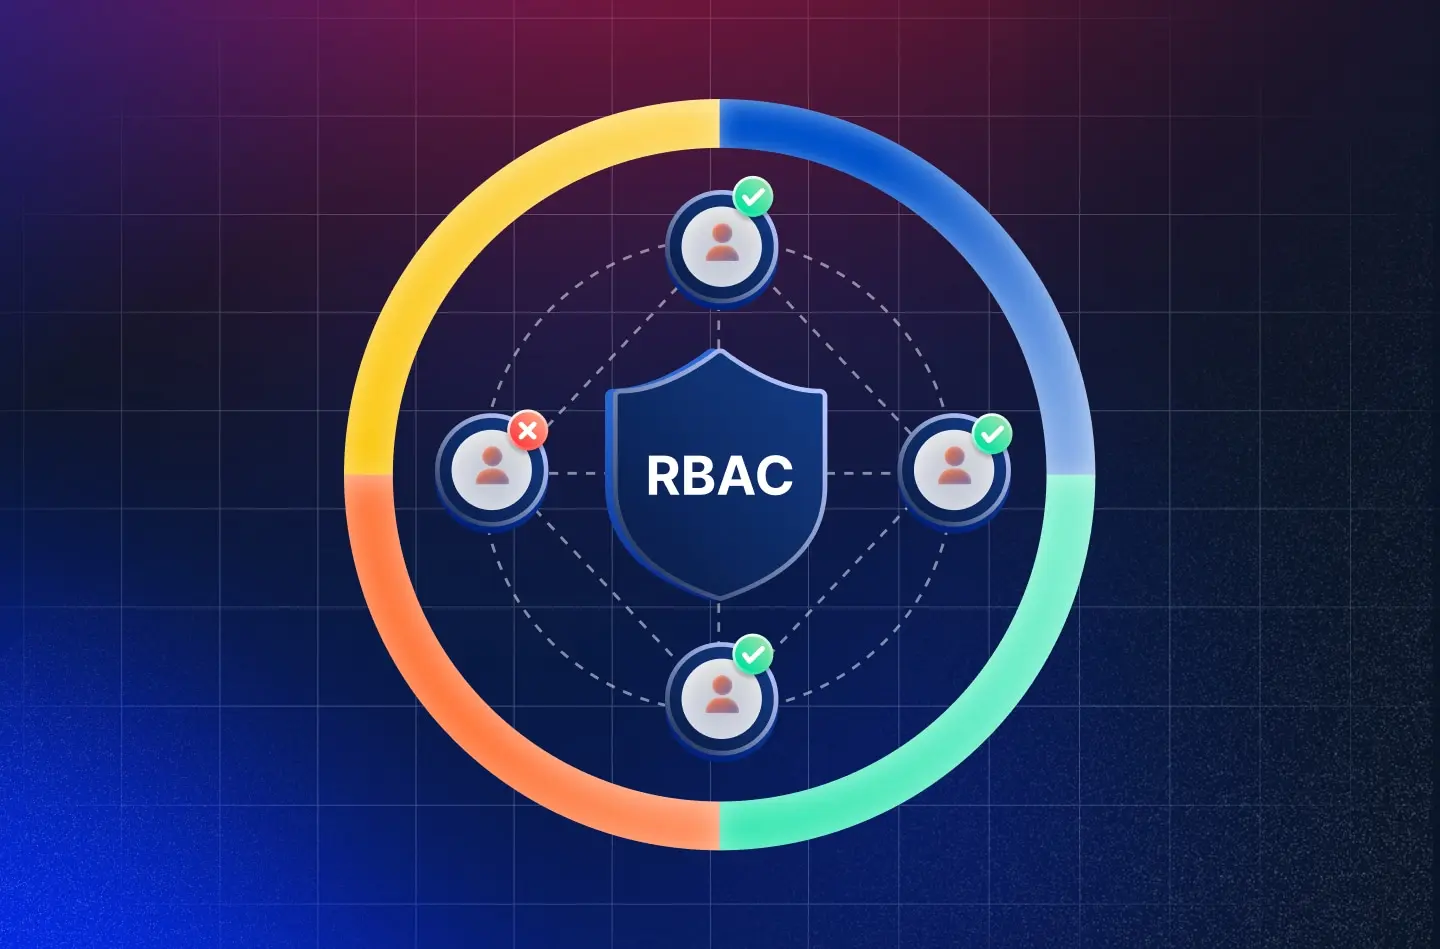
How to Implement Role-Based Access Control (RBAC) in Scalable Web Systems
As your business grows, the need to manage automatically is increasing rapidly. Plus, all the pages that users access, the check up on the permission becomes increasingly complex. Because you need to know what actions team members can perform there.
In today’s blog, we’re going to guide you in the process of setting up a production-ready RBAC system for Next.js type applications that handles everything from navigation filtering to granular button-level permissions.
Traditional system is not catching up anymore with the current needs
Maintenance nightmare: Permission logic is duplicated everywhere
Security errors: Easy to forget permission checks
Poor quality UX: Users see buttons they can’t use
Inflexible: Hard to add new roles or modify permissions of the admins
Step 1:Building the Permission Foundation
First, we need to gather and analyze all possible permissions in your system:
Here, we indicate all the permissions:
// lib/rbac/permissions.ts
export enum Permission {
// User Management
CREATE_USER = ‘create_user’,
READ_USER = ‘read_user’,
UPDATE_USER = ‘update_user’,
DELETE_USER = ‘delete_user’,
// Sales Management
CREATE_LEAD = ‘create_lead’,
READ_LEAD = ‘read_lead’,
UPDATE_LEAD = ‘update_lead’,
DELETE_LEAD = ‘delete_lead’,
// Reports & Analytics
VIEW_REPORTS = ‘view_reports’,
VIEW_ANALYTICS = ‘view_analytics’,
// Settings
MANAGE_COMPANY_SETTINGS = ‘manage_company_settings’,
MANAGE_BILLING = ‘manage_billing’
}
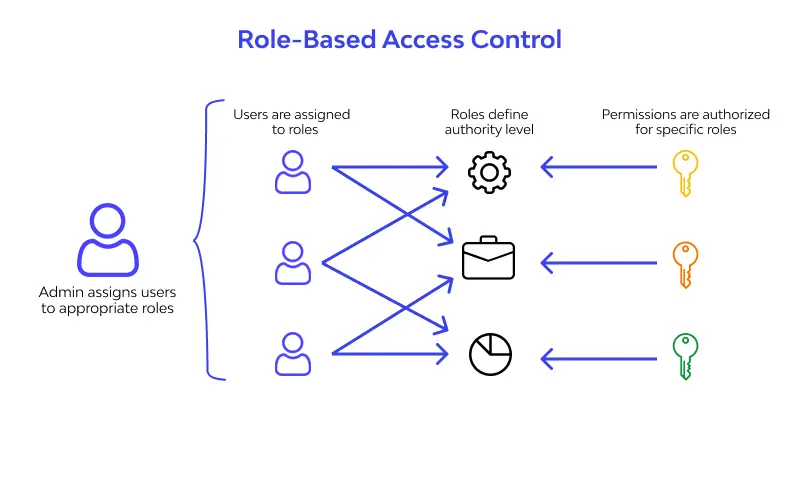
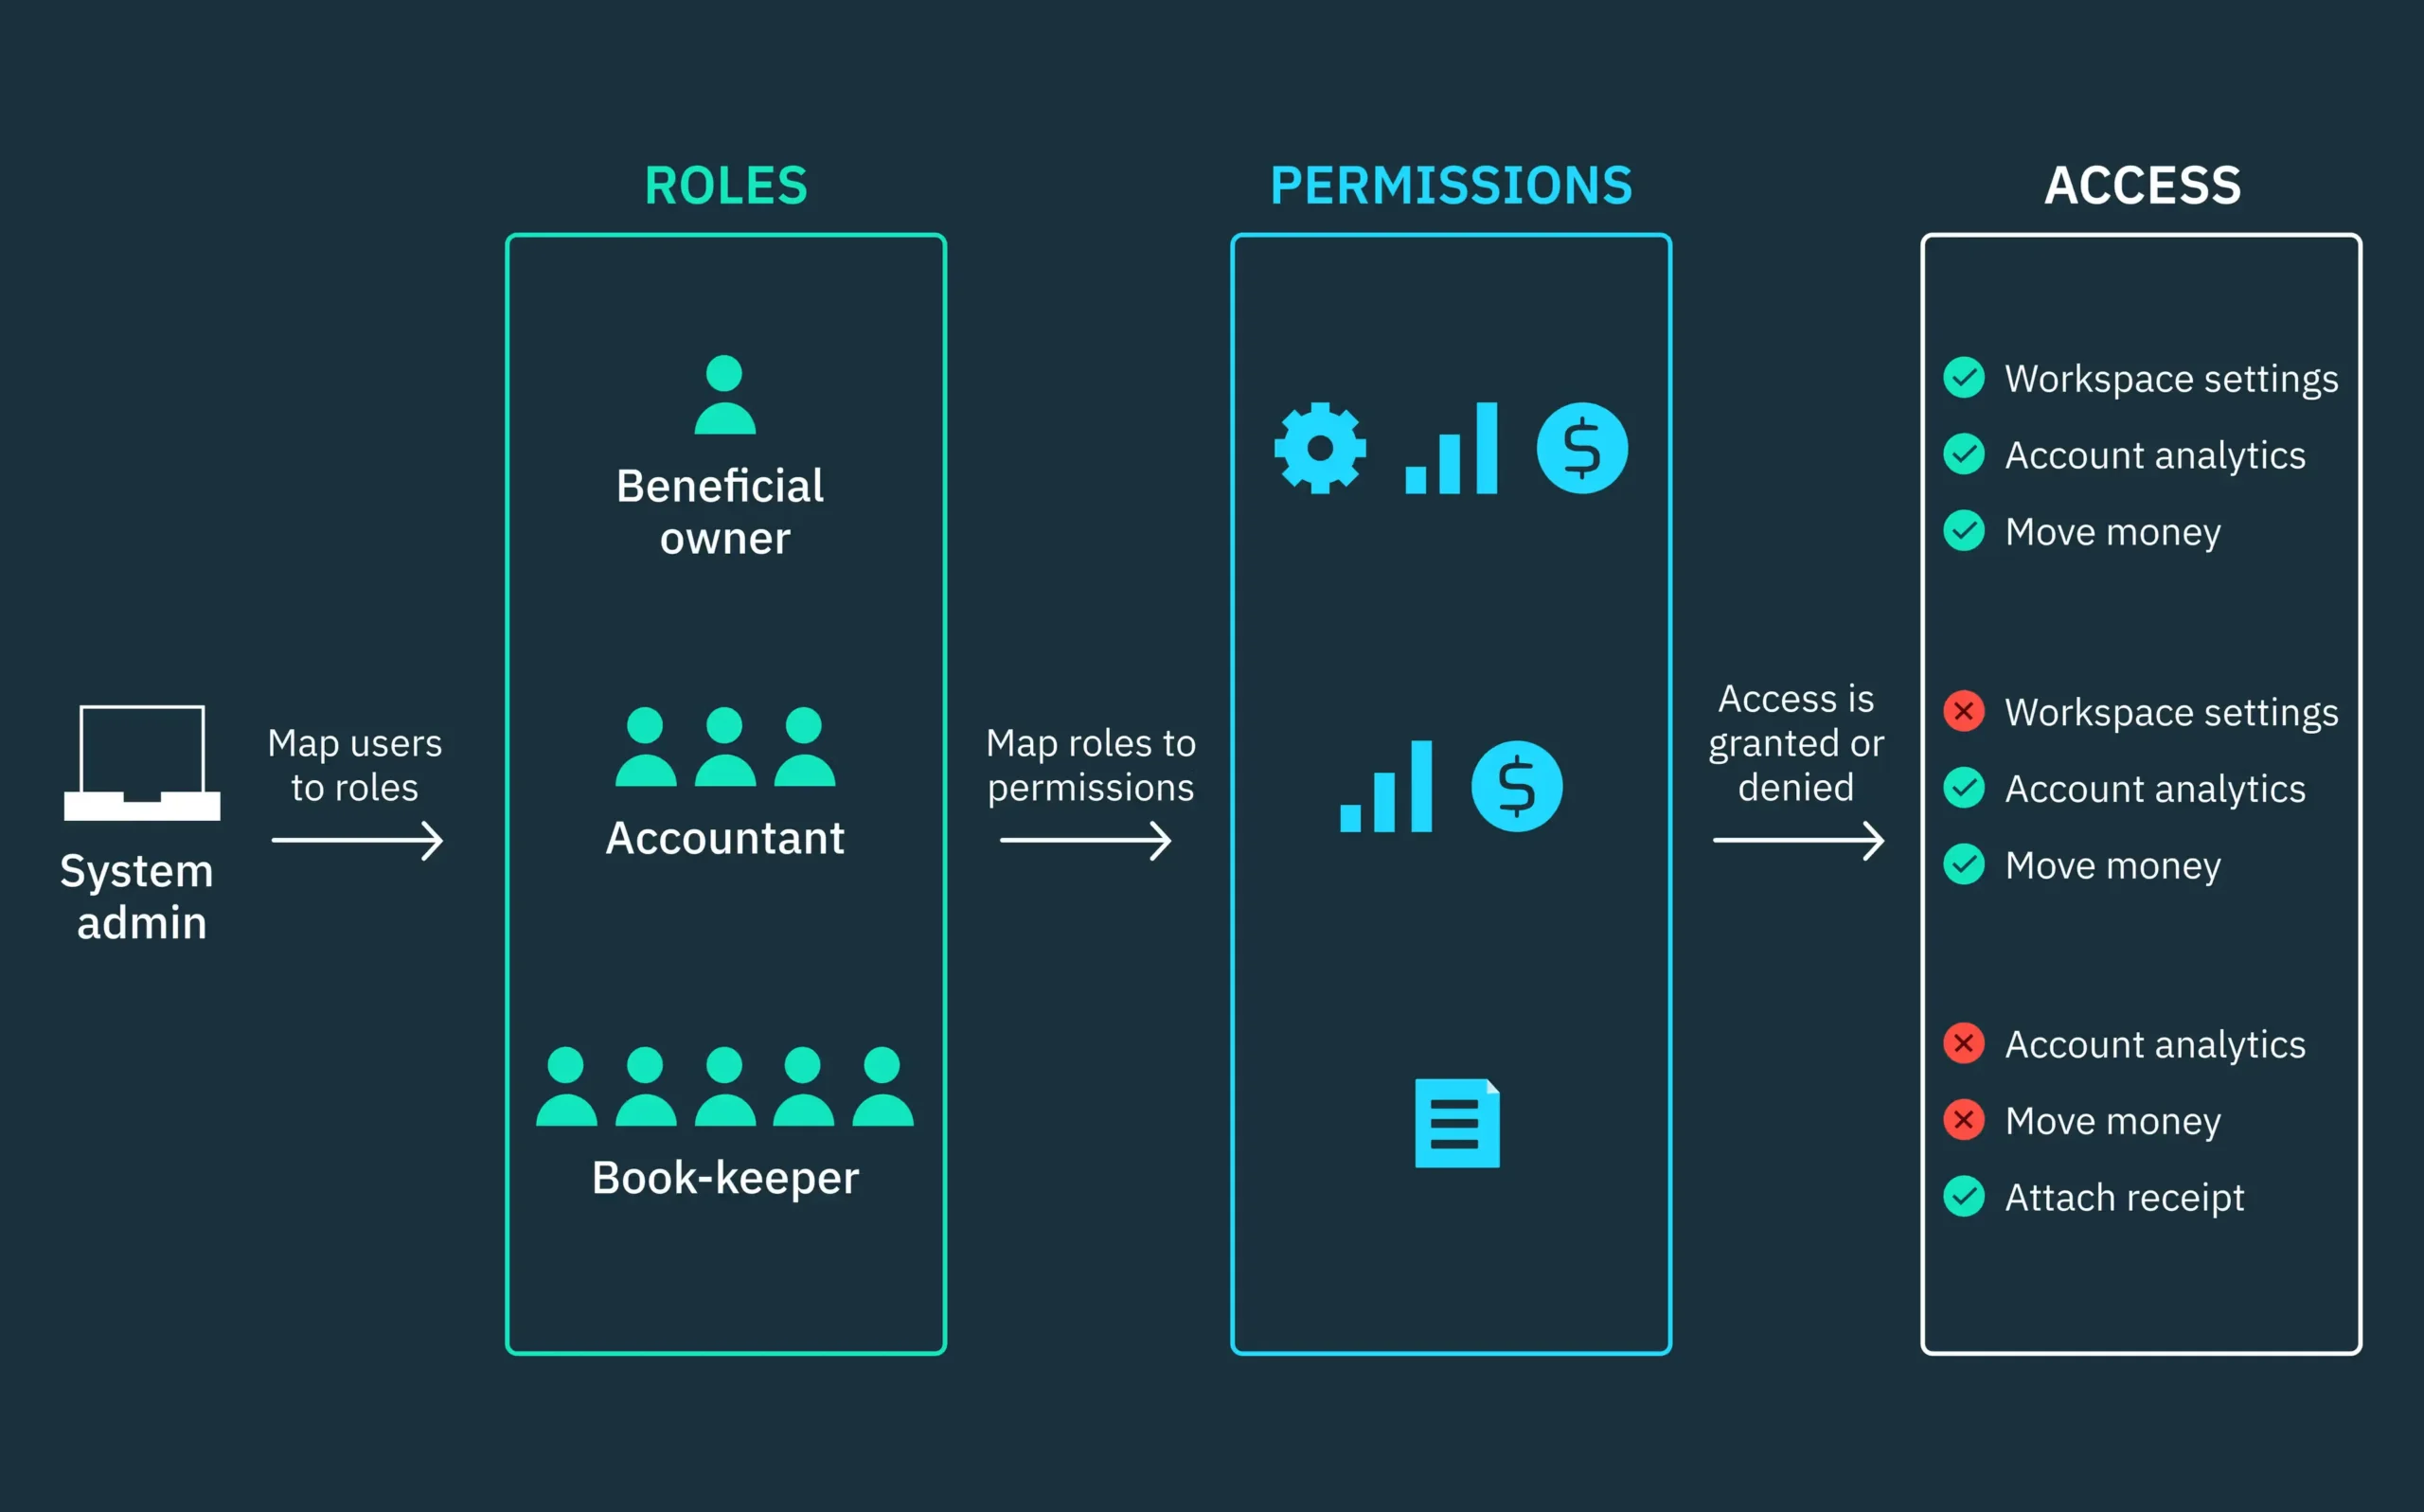
And now, we map roles to their permissions:
// lib/rbac/roles.ts
export enum UserRole {
ADMIN = ‘admin’,
MANAGER = ‘manager’,
SALESPERSON = ‘salesperson’
}
export const ROLE_PERMISSIONS = {
[UserRole.ADMIN]: [
// Admins get all permissions
…Object.values(Permission)
],
[UserRole.MANAGER]: [
Permission.READ_USER,
Permission.UPDATE_USER,
Permission.CREATE_LEAD,
Permission.READ_LEAD,
Permission.UPDATE_LEAD,
Permission.DELETE_LEAD,
Permission.VIEW_REPORTS,
Permission.VIEW_ANALYTICS
],
[UserRole.SALESPERSON]: [
Permission.CREATE_LEAD,
Permission.READ_LEAD,
Permission.UPDATE_LEAD
]
};
Step 2. Enabling Smart Navigation Filtering
So, in order not to mess up a navigation system we need to enable automatically hides inaccessible routes:
// lib/navigation/navigation-config.ts
export interface NavigationItem {
id: string;
label: string;
href: string;
icon: any;
permission?: Permission;
children?: NavigationItem[];
badge?: string;
}
export const NAVIGATION_CONFIG: NavigationItem[] = [
{
id: ‘dashboard’,
label: ‘Dashboard’,
href: ‘/dashboard’,
icon: Home
},
{
id: ‘sales’,
label: ‘Sales’,
href: ‘/dashboard/sales’,
icon: TrendingUp,
permission: Permission.READ_LEAD,
children: [
{
id: ‘leads’,
label: ‘Leads’,
href: ‘/dashboard/sales/leads’,
icon: UserPlus,
permission: Permission.READ_LEAD
},
{
id: ‘reports’,
label: ‘Sales Reports’,
href: ‘/dashboard/sales/reports’,
icon: FileText,
permission: Permission.VIEW_REPORTS,
badge: ‘Manager+’
}
]
},
{
id: ‘users’,
label: ‘User Management’,
href: ‘/dashboard/users’,
icon: Users,
permission: Permission.READ_USER,
badge: ‘Admin’
}
];
By doing that the filtering logic removes items users can’t access:
// lib/navigation/navigation-utils.ts
export function filterNavigationByRole(
navigation: NavigationItem[],
userRole: UserRole
): NavigationItem[] {
return navigation
.map(item => {
// Check if user has permission for this item
if (item.permission && !hasPermission(userRole, item.permission)) {
return null;
}
// Filter children recursively
if (item.children) {
const filteredChildren = filterNavigationByRole(item.children, userRole);
// Hide parent if no children are accessible
if (filteredChildren.length === 0) {
return null;
}
return { …item, children: filteredChildren };
}
return item;
})
.filter((item): item is NavigationItem => item !== null);
}
Step 3: Context-Aware Action Permissions
For enabling control, we need action-specific permissions that consider data ownership:
// lib/rbac/action-permissions.ts
export enum ActionPermission {
DELETE_USER = ‘delete_user’,
EDIT_USER = ‘edit_user’,
DELETE_LEAD = ‘delete_lead’,
EDIT_LEAD = ‘edit_lead’,
ASSIGN_LEAD = ‘assign_lead’
}
export interface ActionContext {
resourceOwnerId?: string;
currentUserId: string;
userRole: UserRole;
}
export function hasActionPermission(
userRole: UserRole,
action: ActionPermission,
context?: ActionContext
): boolean {
const rolePermissions = ROLE_ACTION_PERMISSIONS[userRole] || [];
if (!rolePermissions.includes(action)) {
return false;
}
// Salesperson can only edit their own leads
if (userRole === UserRole.SALESPERSON && context) {
if ([ActionPermission.EDIT_LEAD].includes(action)) {
return context.resourceOwnerId === context.currentUserId;
}
}
return true;
}
Step 4: Adding Smart UI Components
Now we need frontend sustainability to automatically handle permissions:
// components/common/action-guard.tsx
interface ActionGuardProps {
action: ActionPermission;
children: React.ReactNode;
fallback?: React.ReactNode;
resourceOwnerId?: string;
}
export function ActionGuard({
action,
children,
fallback = null,
resourceOwnerId
}: ActionGuardProps) {
const { user } = useAuth();
if (!user) return <>{fallback}</>;
const actionContext: ActionContext = {
currentUserId: user.id,
userRole: user.role,
resourceOwnerId
};
const canPerformAction = hasActionPermission(user.role, action, actionContext);
return canPerformAction ? <>{children}</> : <>{fallback}</>;
}
And a smart button component:
// components/common/action-button.tsx
export function ActionButton({
action,
onClick,
variant = ‘default’,
children,
resourceOwnerId,
…props
}: ActionButtonProps) {
return (
<ActionGuard action={action} resourceOwnerId={resourceOwnerId}>
<Button variant={variant} onClick={onClick} {…props}>
{children}
</Button>
</ActionGuard>
);
}
Building a robust RBAC system upfront saves countless hours of refactoring later. With Intactdia you can build a RBAC system that will expand naturally as your application grows, whether you’re adding new roles, permissions, or complex business rules.
