
Designing a Custom Event Tracking Framework in GA4 for Multi-Step Funnels
The Event tracking in Google Analytics 4 (GA4) is a powerful way to monitor user interactions on your website. But at the same time it is quite a comprehensive process to implement with your team.
Unlike the predefined event structure in Universal Analytics, GA4 events do not require categories, actions, or labels, offering more customization and flexibility. And today, the Intactdia team will guide you on setting up the process of your event tracking framework.
You already have Default Events
GA4 automatically tracks several standard events once the property is set up, providing a foundational layer of user interaction data:
- Page views (page_view): Tracks every time a page is viewed.
- Scrolls (scroll): Captures when users scroll to the bottom of a page.
- Outbound clicks (click): Records clicks on links that lead away from your domain.
- Site search (view_search_results): Tracks search results within your site.
- Video engagement (video_start, video_progress, video_complete): Monitors video interactions.
- File downloads (file_download): Logs when files are downloaded from your site.
So as you can see the default events tracking is already set up for you. But with GA4 you will be able to track the unique user experience tracking to optimize conversion funnels. So, let’s learn how to do it via example:
Step 1:Defining the Custom Event
Custom events in GA4 allow you to track specific interactions relevant to your business goals. First, identify the user action you want to track, such as a button click on a key page (quite specific tracking). This ensures that the data you collect aligns with your business objectives. Here’s how to set them up:
- Access the Events Section: Navigate to the Events section in your GA4 property.
- Create Event: Click on Create Event and then Create again on the next screen.
- Define the Event: Specify the existing events it’s based on and any conditions or additional parameters. For example, tracking a “Sign Up” button click can be based on the click event with conditions like event_label=”sign_up_button”.
Step 2: Modifying the Event Code
Now you need to modify the event tracking code. Using Google Tag Manager (GTM) can simplify this process:
- Create a New Tag: In GTM, create a new tag for the event.
- Set Trigger Conditions: Define trigger conditions that match your criteria (e.g., button ID or class).
- Configure Parameters: Name the event and specify parameters in the tag configuration.
Step 3: Let’s Add Some Crucial Parameters
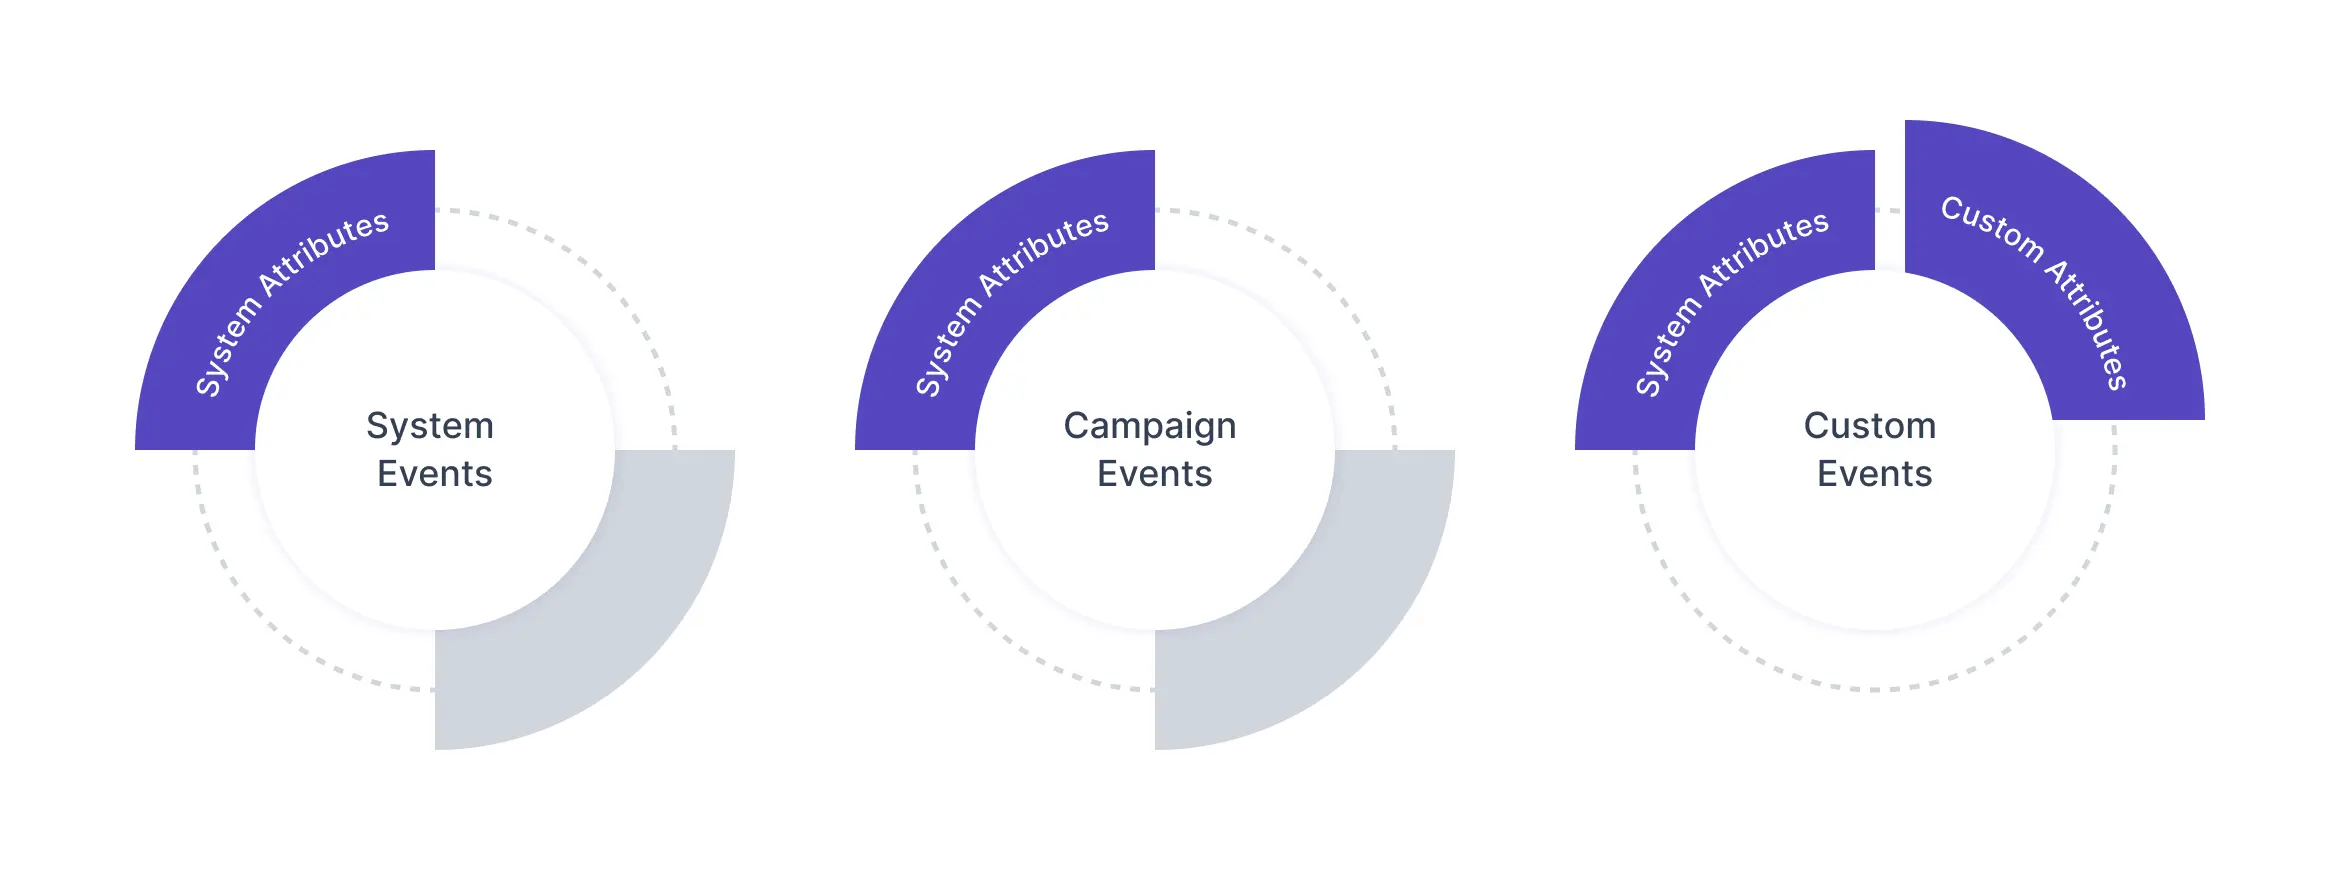
There are two types of parameters available in Google Analytics 4:
- Automatically Collected Parameters
There are :
- page_location
- page_referrer
- screen_resolution
offering useful context without the extra efforts and configuration.
and b) Custom Parameters
Custom parameters are user-defined and tailored to your specific tracking needs. For example, for a “Sign Up” event, you might include parameters such as method (e.g., social sign-in, email sign-up) or promotion_code.
How to add the parameter:
- Edit Parameter Reporting: In the Events section of GA4, click on an event name.
- Add Custom Parameter: Click Edit parameter reporting and add your custom parameter name and description.
Step 4: Now Let’s Track The Parameters
Let’s imagine that you want ton track clicks on a “Contact Us” button using Google Tag and you’ve already had one proper GA4 installation using GTM in your site.
What You Should Do In Google Tag Manager:
- Create a new tag and choose GA4 Event.
- Select your GA4 configuration tag.
- Name the event (e.g., contact_us_click).
- Add parameters if needed (e.g., button_text, page_title).
Now Time To Set The Trigger:
- Create a new trigger for the button click.
- Configure the trigger to fire on clicks of the “Contact Us” button using CSS selectors, ID, or other attributes.
Double-check this moment:
- Ensure your GTM container is published to start tracking the event.
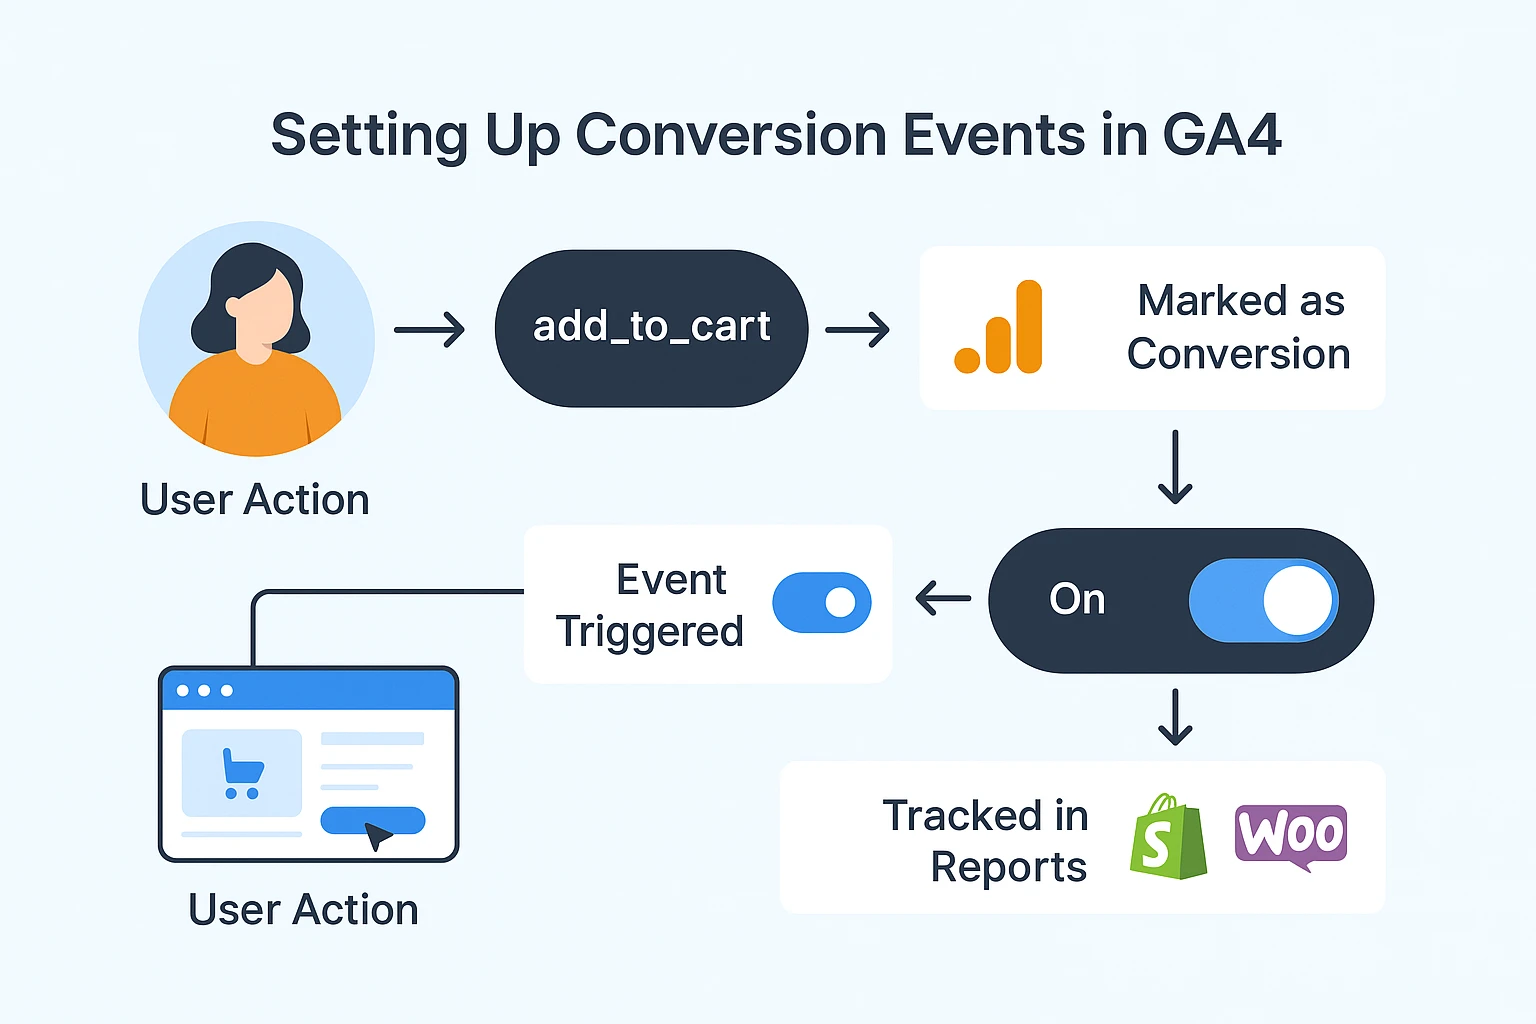
Step 5: Testing Your Implementation
After adding the tracking code, test your implementation to ensure events are correctly recorded in GA4:
- Real-Time Reports: Go to the Realtime section in GA4 and trigger the event (e.g., click the “Contact Us” button). You should see the event appear in real-time.
- Debugging: Use the GA4 DebugView to monitor detailed event data. Enable debug mode by adding ?debug_mode=true to your URL while testing.
So, now you have a full system of tracking for all businesses. If you have any challenges in setting up event tracking or want to implement it in the quickest time possible, by contacting Intactdia.
